Cat Paw Print Drawing: Easy Step-by-Step Guide for Beginners
In this guide
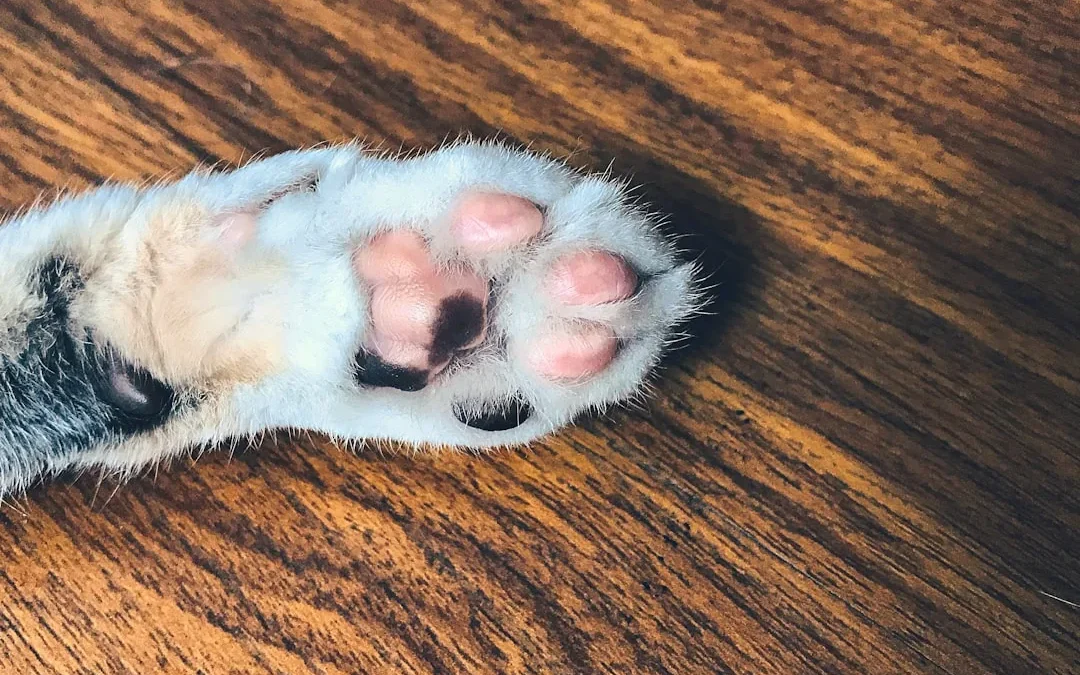
Is there anything sweeter than a little cat paw print? 🐾 Those chubby toe beans are pure charm, and the best part is they’re one of the simplest cute things you can draw. A big blob, four little bumps, done — you’ll be stamping paws all over your notebook in minutes.
This guide keeps things playful and easy, whether you want a single print or a whole trail marching across the page. If you love kitty doodles, you’ll also enjoy our cat drawing guide once your paws are perfect.
Sharpen that pencil and let’s make some adorable little tracks.
What You’ll Need
- Paper
- A pencil
- An eraser
- Optional: pink and gray markers for coloring
Step 1: Draw the Main Pad
In the middle of your space, draw a big rounded shape a little like a squishy heart or a wide triangle with soft corners. This is the main pad — the big cushion in the center of the paw that a cat presses down when it walks. Keep the bottom gently pointed and the top nice and round, with no hard edges anywhere. This one shape sets the size for everything else, so give it some room.
Step 2: Add the First Toe Bean
Just above the main pad, draw a small oval — this is your first toe bean. Tip it slightly so it points inward toward the center, the way real toes fan gently toward the middle. Think of a little jellybean floating just over the big cushion, plump and rounded on every side.
Step 3: Add the Rest of the Toes
Add three more oval beans in a gentle arch across the top, giving you four toes in total. The two middle beans sit a touch higher than the outer two, following a soft curve like a smile. Space them evenly so the paw looks balanced, and keep all four roughly the same plump size so no single toe steals the show.
Step 4: Shape and Space the Beans
Leave a tiny gap between each toe bean and the main pad — real paws aren’t all squished together. Tidy up any bumpy edges so each bean is a smooth, plump oval. This little breathing room is what makes the print read instantly as a paw.
Step 5: Round Out the Final Outline
Trace one clean line over your shapes, softening every corner into a cozy curve. Erase any stray guide marks. A cat paw print should look soft and pillowy, so avoid sharp points — everything is rounded and huggable here.
Step 6: Color the Toe Beans
Color the main pad and all four beans a soft pink, the classic kitten-toe color. Leave a tiny white dot on each bean for a shiny, squishy highlight. Prefer a mysterious black cat? Color the pads dark gray instead — both look adorable. ✨
Step 7: Make a Paw Print Trail
Now the fun part: stamp a few more paws in a winding line across your page, shrinking them slightly as they wander off. Alternate them left and right, like footsteps, so it looks like an invisible kitty just tiptoed by. It’s the cutest border you’ll ever draw.
Tips to Make Your Cat Paw Print Even Cuter
- Round every edge — soft, chubby beans read as far cuter than sharp ones.
- Try different pad colors: pink for a light cat, gray or black for a darker one.
- Add a tiny sparkle or heart beside a print for a sweet doodle-page vibe.
- Shrink each print in a trail to make it look like the cat walked into the distance.
- Draw a whole set as stickers, then cut them out to decorate a card or journal.
FAQ
Is a cat paw print hard to draw?
Not one bit — it’s one big oval plus four little ones. It may be the easiest cute doodle on the whole page.
How many toe beans does a cat paw have?
The front print shows one big pad and four toe beans, which is what we drew here. Cats have a small extra pad higher up, but you can skip it for a tidy print.
How long does it take to draw?
A single print takes about two minutes. A whole trail across the page is maybe ten minutes of pure, relaxing fun.
Little doodles like this are the perfect warm-up, and every paw you stamp builds your confidence for bigger drawings. For more cozy draw-along sessions, wander over to our YouTube channel at https://www.youtube.com/@hobbiesfor_fun. If you had fun here, meet the whole kitty with our cute kitten drawing guide. 🐾