How to Draw a Chameleon: Easy Step-by-Step
In this guide
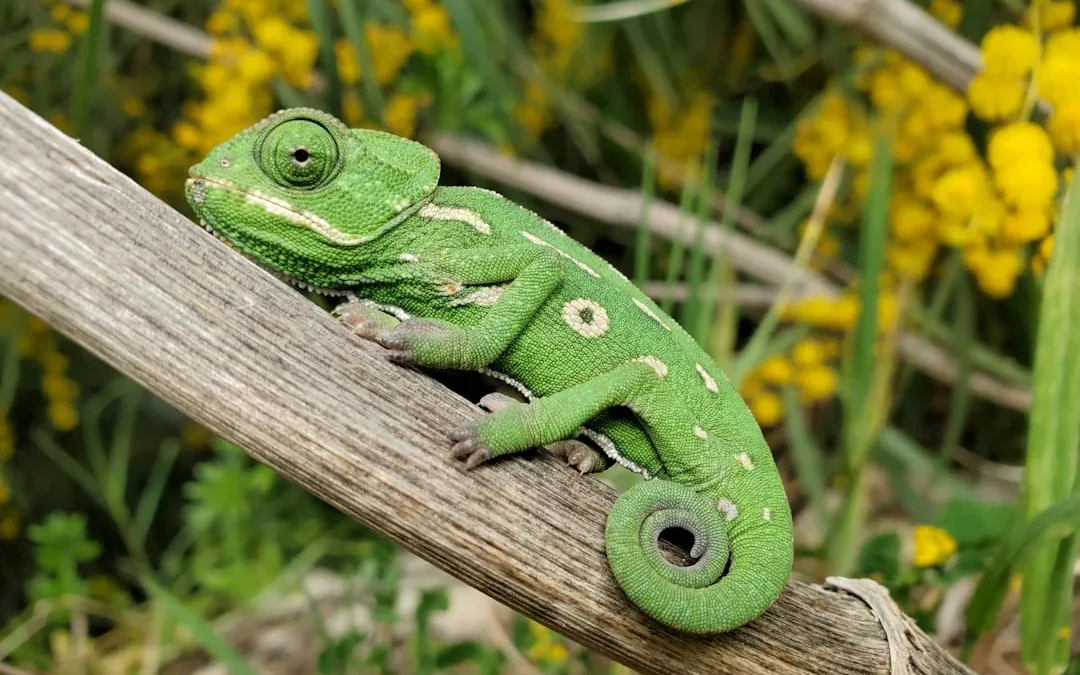
Meet the lizard with a built-in mood ring, a curly-fry tail, and eyes that look two directions at once. Learning how to draw a chameleon is a treat because every single feature is fun: the spiral tail, the googly eye, the little mitten feet gripping a branch. And when it’s time to color? Anything goes — that’s literally the chameleon’s whole thing. 🎨
We’ll draw the classic side view: a chameleon perched on a branch, tail coiled like a cinnamon roll. If you enjoyed our easy lizard drawing guide, this is its fancier cousin — same reptile bones, way more flair.
What You’ll Need
- Paper
- A pencil
- An eraser
- Optional: every green (and pink, and orange) you own
Step 1: Draw the Leaf-Shaped Body
Start with a plump leaf shape in the middle of your page — rounded belly on the bottom, gentle arch on top, tapering toward the back. Tilt it slightly upward at the front, like the chameleon is looking where it’s climbing. Leave room below for the branch and behind for that famous tail.
Step 2: Add the Head and Crest
At the front of the body, shape a head that rises into a little pointed helmet at the back — that bony crest is called a casque, and it’s the chameleon’s signature hat. Let the mouth line curve down and back up in a long, natural smile. No neck needed; head flows right into body.
Step 3: Draw the Amazing Eye
Chameleon eyes are round turrets, so draw a big circle on the head, then a much smaller circle inside for the peeking pupil. Add a couple of curved rings around the eye to show the cone shape. Point the pupil up or backward for that “I see you AND that fly” energy.
Step 4: Coil the Curly Tail
From the back of the body, sweep the tail out and down, then curl it into a spiral — around and around, two or three loops, getting tighter toward the center. Draw the spiral slowly and let the tail get thinner as it coils. This is the star of the drawing, so give it space to show off. ✨
Step 5: Add the Branch
Slide a long, slightly wavy branch under your chameleon, running across the page. Two roughly parallel lines with a knot or bump keeps it simple. Add a leaf or two at one end — chameleons like an audience of foliage.
Step 6: Draw the Mitten Feet
Chameleon feet are nature’s oven mitts: two toes in front, two behind, gripping like tongs. Draw four short legs reaching down to the branch, each ending in a V-shaped mitten wrapped around the wood. Bend the legs at little elbows so it looks relaxed, not robotic.
Step 7: Add Stripes and Spikes
Run a few soft, curved stripes down the body from back to belly. Along the spine, add a row of tiny bumps or spikes, like a serrated leaf edge. If you’d like, sneak a long curled tongue tip out of the mouth reaching for a dot-sized fly — optional, but always a crowd-pleaser.
Step 8: Go Wild with Color
Base coat of bright green, then party: teal stripes, orange belly, pink around the eye — chameleons genuinely flash all of these. Darken the branch to warm brown so your rainbow reptile pops. The one rule of chameleon coloring is that there are no rules. 🎨
Tips to Make Your Chameleon Drawing Even Cuter
- A tiny fly with a dotted flight path adds instant story to the scene.
- Make the eye extra large and the smile extra wide for maximum cartoon charm.
- Try a rainbow gradient down the body — each stripe a different color.
- Draw a second mini chameleon on the same branch, colored completely differently, because they can.
- Curl the tail around a berry or flower stem for bonus adorableness.
FAQ
Is a chameleon hard to draw?
Easier than it looks! The body is a leaf shape and the tail is a spiral — the two “hard” parts are shapes you’ve doodled a hundred times. The details just add personality.
How long does a chameleon drawing take?
Plan on 15 to 20 minutes, plus happy extra time for coloring — this is one drawing where the coloring is half the fun.
What colors should a chameleon be?
Green is the classic base, but real chameleons flash blues, yellows, oranges, and pinks depending on mood and species. Translation: whatever crayons you have are correct.
A curly tail, a turret eye, and a personal rainbow — not bad for one page of shapes. Watch drawings like this come to life on our YouTube channel at https://www.youtube.com/@hobbiesfor_fun. If you loved this, scamper over to our easy lizard drawing for the streamlined cousin, or try the frog drawing guide for another bug-hunting buddy. 🐾