How to Draw a Cherry: Easy Step-by-Step
In this guide
Two circles, two stems, one leaf — that’s the entire ingredient list for one of the most satisfying little fruits you can put on paper. Learning how to draw a cherry takes maybe five minutes, and the result looks good everywhere: notebook margins, birthday cards, recipe pages, you name it. 🍒
Cherries almost always come in pairs, joined at the stem like best friends, and that connection is what makes the drawing feel alive. If fruit doodles are your thing, our easy strawberry drawing pairs beautifully with this one on a summer-themed page. And once the basic pair feels easy, you can multiply cherries into borders, repeating patterns, and pie-day decorations without breaking a sweat.
What You’ll Need
- Paper
- A pencil
- An eraser
- Red and green markers or pencils (optional)
Step 1: Draw the First Cherry
Draw a circle a touch wider than it is tall, sitting just left of the middle of your page. Real cherries aren’t perfect spheres — a gently squashed circle actually looks more delicious. Press lightly for now, because you’ll erase a small section at the top in a moment.
Step 2: Add Its Twin
Next to the first circle, draw a second one sitting slightly lower, close enough that they almost touch. Making one cherry a little bigger than the other keeps the pair from looking like a stamp — small differences are charming. Overlapping works too — just erase the hidden line where the front cherry covers its twin.
Step 3: Dent the Tops
At the top of each cherry, erase a tiny section and draw a small dip, like the dent in the top of an apple. This little notch is where the stems will plug in, and it instantly makes the circles read as fruit. Real cherries have this same little dimple, and copying details like it is the easiest way to make a simple drawing look carefully observed.
Step 4: Draw the Stems
From each dent, draw a long curved line sweeping up, and let the two lines meet at a single point above the cherries — like a wishbone standing upside down. Then thicken each stem with a second line right beside the first. Keep the curves loose and springy — stiff, straight stems make cherries look tired.
Step 5: Add the Leaf
Where the stems meet, attach one leaf shaped like an almond or a little canoe. Draw a single line down its middle for the vein, plus a few short lines branching off if you’re feeling fancy. No two real leaves match anyway, so let yours lean or curve however it pleases.
Step 6: Make Them Shine
Draw a small oval on the upper-left part of each cherry and keep it white when you color — that’s the shine that makes fruit look juicy. A short curved line beneath each shine spot adds extra gleam. This one tiny trick does most of the work, and it transfers everywhere — apples, grapes, and tomatoes all shine the exact same way.
Step 7: Color Your Cherries
Go bold with red — deeper at the bottom of each cherry, brighter near the top — and leave those highlight ovals untouched. Color the stems and leaf green, using a darker green along one edge. If you only have one red, press harder at the bottoms for the same effect. Markers, crayons, and colored pencils all work — cherries are forgiving in every medium.
Tips to Make Your Cherry Drawing Even Cuter
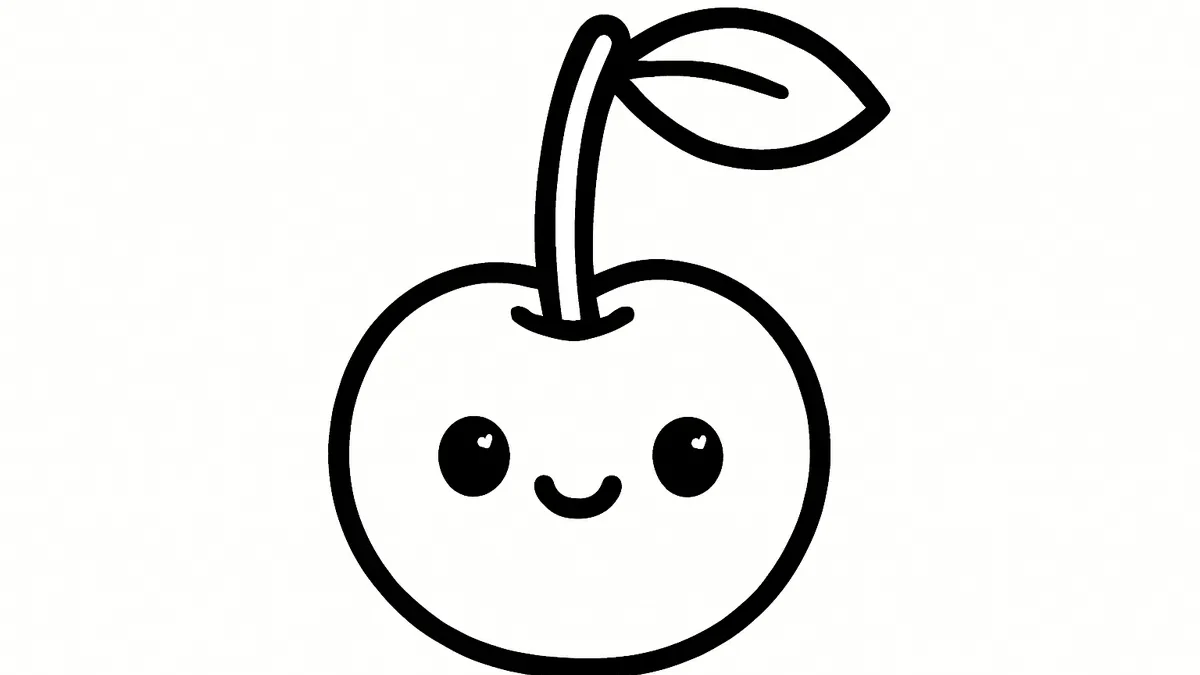
- Give each cherry a tiny face — dot eyes and a smile turn twins into characters.
- Draw a small heart where the stems meet instead of a leaf for a valentine version.
- Scatter three or four cherry pairs across a page to make instant wrapping-paper art.
- Try pink cherries with white polka dots for a fun, not-found-in-nature look. ✨
- Fill a whole bowl by stacking cherry pairs above a simple half-circle bowl shape.
FAQ
Is a cherry easy to draw for beginners?
It’s one of the easiest fruits out there — two circles and two curved lines get you 90% of the way. The shine spot is the only “trick,” and it’s a simple one.
How do I make my cherries look shiny?
Leave a small white oval on the upper-left of each cherry when you color. Shading the bottoms darker doubles the glossy effect.
Can young kids follow this cherry tutorial?
Yes — kids around four or five can manage the circles and stems, and the coloring stage is pure fun for everyone.
Sweet, simple, and done before your snack break ends — cherries might be the friendliest fruit in your sketchbook. For more drawn-by-hand tutorials, hop over to our YouTube channel and draw along. Hungry for more? Fill a whole picnic page with our easy food drawings collection next. 🎨