Ghost Drawing: Easy Step-by-Step Guide for Beginners
In this guide
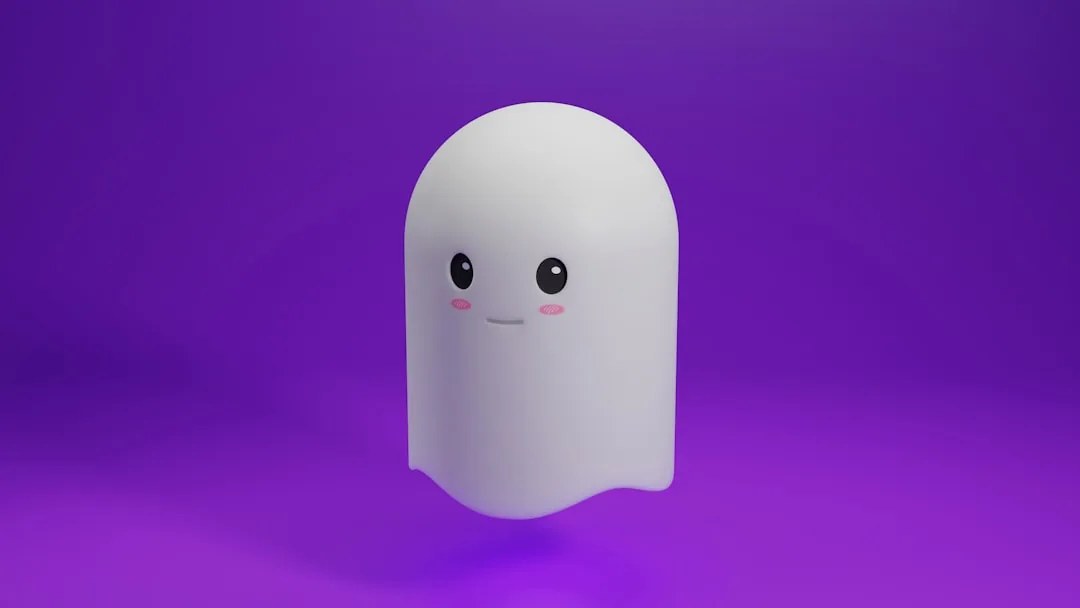
A little bedsheet ghost might be the friendliest thing you can put on paper — one wobbly shape, two dot eyes, done. If you’ve ever wondered how to draw a ghost that looks cuddly instead of creepy, this is the tutorial for you. No straight lines, no tricky angles, just floaty curves. 👻
Ghosts also happen to be the perfect warm-up doodle. They forgive shaky hands (wobbles make them better), and they squeeze into any corner of a page. That’s why they’re a regular in our cute doodles to draw collection. Let’s float through this one together.
We’ll build the whole spirit in seven small moves: a dome, two drooping sides, a wavy hem, a swooping tail, a face, arms, and a bit of moonlit shading. Every single line is a curve, so let your wrist go loose before you start.
What You’ll Need
- Paper
- A pencil
- An eraser
- Optional: a light blue or purple crayon for shading
Step 1: Draw the Rounded Head
Draw a big upside-down U in the middle of your paper, like a smooth hill or the top of a mushroom cap. Leave the bottom completely open. This dome is your ghost’s head and shoulders all in one. Size matters less than smoothness here, so draw the curve in one slow, confident sweep rather than lots of scratchy little strokes.
Step 2: Drop the Sides Down
Continue each side of the U downward, letting the lines drift slightly outward as they fall — think of a bedsheet draping over an invisible friend. Stop both lines at about the same height. Your shape should look like a floppy bell — and if one side bulges more than the other, congratulations, your ghost now has a favorite direction to drift.
Step 3: Make the Wavy Bottom
Connect the two sides along the bottom with a wavy line: up, down, up, down, like gentle ocean waves or the edge of a fancy tablecloth. Three or four waves is perfect. This ripple is what makes a ghost look like it’s floating rather than standing. Keep the waves rounded and lazy — pointy zigzags read as torn paper, while soft ones read as drifting fabric.
Step 4: Add a Flowy Tail
Let the last wave on one side stretch longer than the others and swoop into a soft curl, like a ribbon caught in a breeze. This trailing tail gives your ghost movement, as if it just drifted onto the page. Erase and redo until the swoop feels loose and easy.
Step 5: Give It a Face
Draw two tall oval eyes near the middle of the dome and fill them in black. Below them, add a small open mouth — a little O for a surprised “boo!”, or a tiny curved smile for a shy ghost. Space the eyes wide apart; wide-set eyes read as extra innocent. For a truly startled ghost, add two tiny eyebrow curves floating just above the eyes, raised high in permanent surprise.
Step 6: Add Stubby Arms
From each side of the body, pull out a short, rounded arm shaped like a mitten — no fingers needed. One arm can reach up in a wave while the other rests by its side. Ghost arms are basically pool noodles, so keep them soft and bendy. Skip the shoulders entirely — the arms should sprout straight from the sheet like sleeves on a poncho.
Step 7: Shade and Set the Scene
Leave the ghost mostly white, but add gentle blue or purple shading along one side and under the wavy hem, like moonlight brushing past. Draw a soft oval shadow on the ground below, leaving a clear gap of empty paper between the wavy hem and the shadow — that gap is what sells the float. Hovering above your own shadow is the oldest ghost trick in the book, and it works every single time. A few tiny stars or a crescent moon nearby finish the scene.
Tips to Make Your Ghost Drawing Even Cuter
- Rosy cheeks under the eyes turn any ghost into a sweetheart. ✨
- Give it a tiny pumpkin to hold, or a party hat for a birthday boo.
- Draw a whole ghost family — one big swoop, two medium, one tiny trailing behind.
- Stick out a little tongue from the O mouth for a silly one.
- Blushy pink, mint, or lavender ghosts are just as charming as white ones.
FAQ
Is a ghost easy to draw for beginners?
It’s one of the easiest characters there is — a single dome, a wavy hem, and a two-dot face. Wobbly lines actually improve it, which makes the ghost a rare drawing where nerves work in your favor.
How long does a ghost drawing take?
Five minutes for a quick doodle, or 15 if you add shading, a shadow, and a starry background.
What age can kids draw this ghost?
Ages 4 and up can manage the basic shape, since there are no straight lines or tricky proportions to worry about.
And that’s how to draw a ghost that says “boo” in the gentlest possible way. Doodle a few more until your page looks properly haunted — the cozy kind of haunted. For hand-drawn video versions of tutorials like this, float over to our YouTube channel. If you loved this, try our full list of Halloween drawing ideas for beginners next. Happy haunting! 🎃