How to Draw Hair: Easy Guide
In this guide
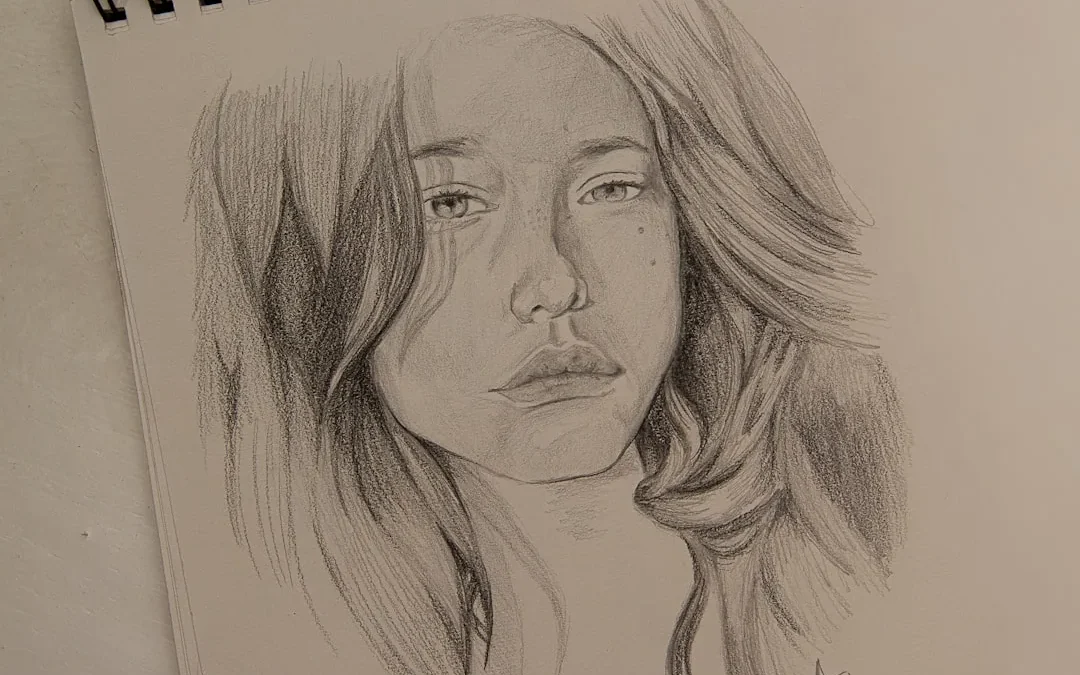
Hair is where a drawing gets its personality. A round face with no hair looks like an egg, but give that same face a swoopy side part or a bouncy ponytail and suddenly it’s a character with a story. The good news? Learning how to draw hair is much easier than it looks, because you never draw every single strand — you draw a few big, friendly shapes and let a handful of flowing lines do the rest.
In this guide we’ll build a simple head, wrap a soft hair shape around it, and then try three easy styles: straight, wavy, and a ponytail. If you’d like a whole character to practice on afterward, our easy girl drawing for beginners tutorial pairs perfectly with this one. ✏️
What You’ll Need
- Paper
- A pencil
- An eraser
- Optional markers or crayons for color
Step 1: Draw a Simple Head Guide
Start with a light circle, then hang a soft U shape from the bottom of it — that’s the chin, like a little cup catching the circle. Draw a faint vertical line down the middle of the face and a faint horizontal line across the center. Keep everything gentle and sketchy; these are helper lines, and most of them will disappear later.
Step 2: Mark the Hairline
Hair doesn’t start at the very top of the head — it starts a little way down the forehead. Draw a soft dotted curve across the upper part of the circle, like a rainbow that sags a tiny bit in the middle. Let the ends of the curve slide down toward where the ears would sit. Everything above this line will be covered in hair.
Step 3: Puff Out the Big Hair Shape
Here’s the number one secret of how to draw hair: it puffs up! Draw a big rounded shape that floats a little above the circle, like the head is wearing a cozy hat of air. Bring the sides down past the cheeks so they hug the face, ending near the jaw. Think of tracing around a fluffy cloud that has settled on someone’s head.
Step 4: Choose a Part Line
Pick a spot on top of the head — the middle, or a little to one side — and draw a short line where the hair splits. From that point, sweep two long, curving lines that travel down and away from each other, like water flowing over a smooth stone. These two curves decide which way all the other strands will go.
Step 5: Add Flowing Strand Lines
Now add just a few more curved lines that follow the same flow as your part. Space them unevenly — two lines close together here, a wide gap there — because real hair clumps into sections instead of lining up like fence posts. Let every line start near the part and glide toward the ends without crossing its neighbors. Five or six lines are plenty.
Step 6: Try a Wavy Style
For waves, swap your smooth curves for lazy S shapes. Each strand line wiggles gently — curve left, then right, then left again — like a slow river seen from above. Make the bottom edge of the hair bumpy instead of straight, with soft scallops like the edge of a cloud. Wavy hair looks best when the S curves in neighboring strands lean the same way.
Step 7: Try a Ponytail
For a ponytail, sweep every strand line back toward one spot high on the back of the head, like curtains being gathered by a hand. Draw a tiny band there — two short lines make a hair tie. Then let a big swoosh of hair burst out behind it, shaped like a banana or a comet’s tail, with two or three lines inside showing the flow.
Step 8: Erase and Finish
Gently erase the circle, the cross, and any hairline dots still peeking through. Darken your favorite lines so the hairstyle pops. If you want a little sparkle, leave a thin zigzag of empty space near the top of the head — that’s a shine mark, and it makes hair look silky with zero extra effort. ✨
Tips to Make Your Hair Drawing Even Cuter
- Add a bow, a flower, or a star clip where the part begins — tiny accessories add instant charm.
- Color the hair in one flat tone first, then run a darker shade along the part and under the puffiest sections.
- Give short strands a flip at the ends, like little commas, for a playful look.
- Try mismatched bangs: a few uneven, choppy lines across the forehead feel friendly and relaxed.
- Curly hair? Fill the big shape with loose loops and spirals instead of long lines.
FAQ
Is hair hard to draw for beginners?
Not when you build it from one big shape first. Most frustration comes from drawing individual strands too early — start puffy and simple, and it gets easy fast.
How long does it take to draw hair?
A simple style like the ones here takes about five to ten minutes. Wavy and ponytail versions might add a few minutes while you practice the flow lines.
What age can kids follow this tutorial?
Kids around six and up can manage the big shapes with a little help on the part line. Younger artists can skip the strand lines and just draw the puffy outline — it still looks great.
Every hairstyle you draw teaches your hand a new kind of curve, so keep experimenting — you’ve got this! For drawalong videos where you can watch each stroke happen in real time, visit our YouTube channel at https://www.youtube.com/@hobbiesfor_fun. And if you loved this, try our cute anime girl drawings next — it’s the perfect place to show off your new hair skills. 🎨