Sleigh Drawing: Easy Step-by-Step Guide for Beginners
In this guide
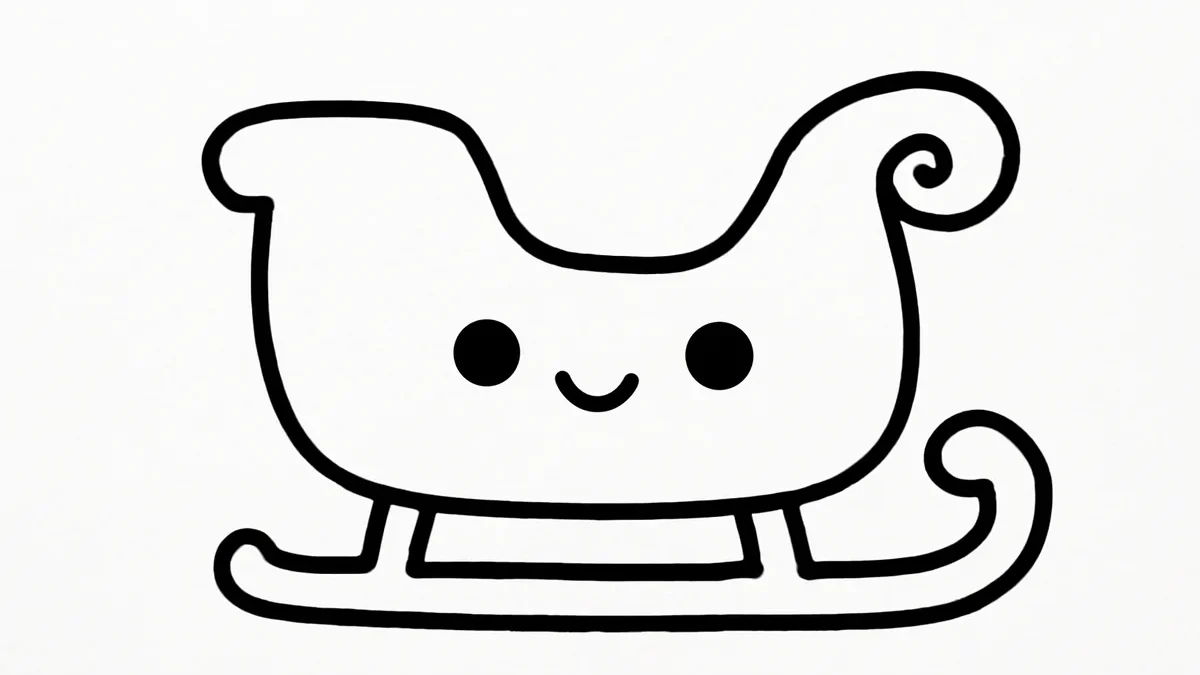
Picture a snowy hill, a jingle of bells, and a curvy red sleigh swooshing by. ✨ A sleigh drawing looks like it should be tricky, with all those swooping curves, but it’s built from a few friendly shapes you already know — a scooped seat, a long runner, and one graceful swirl at the front.
In this guide we’ll shape the body first, then add the sweeping runner it glides on. It’s a lovely companion piece if you’re also sketching a jolly rider, so keep our Santa Claus drawing guide handy for later.
If you’ve ever thought a sleigh looked too fancy to attempt, this is the guide that changes your mind. We’ll take it one gentle curve at a time, and you’ll be surprised how quickly it starts to look like the real thing. Warm up your pencil hand, and let’s go for a ride.
What You’ll Need
- Paper
- A pencil
- An eraser
- Optional: red and gold markers for a festive finish
Step 1: Draw the Seat Scoop
Begin with a shallow, curved bowl in the middle of your page, like the inside of a spoon. This scoop is where someone would sit. Keep the curve soft and open — a sleigh is all gentle arcs, no sharp corners.
Step 2: Add the Back Wall
From the back edge of your scoop, draw a curved wall rising upward, then rolling over at the top like a wave about to break. This tall back is the sleigh’s signature shape. Let it lean back slightly for that classic swooshy look.
Step 3: Shape the Front Swirl
At the front of the seat, sweep your line up and curl it into a spiral, like the top of a candy cane or a rolled ribbon. This graceful swirl is what makes a sleigh look magical instead of like a plain box. Take your time with the curl, and try drawing it in one smooth motion rather than lots of little strokes — a confident sweep looks far prettier than a careful, scratchy one.
Step 4: Close Up the Body
Connect the bottom of your seat to the front swirl with a smooth line so the whole side becomes one solid, flowing panel. Now your sleigh has a real body. Erase any bumpy overlaps so the outline glides in one clean sweep.
Step 5: Draw the Runner
Underneath the body, draw a long curved blade — this is the runner the sleigh slides on. It should stretch past the front and curl upward at the tip, matching your front swirl. Think of an ice skate blade lying on its side.
Step 6: Add the Support Posts
Between the body and the runner, add two short upright posts, one near the front and one near the back. These little legs hold the sleigh up off the snow. Keep them straight and simple; they’re the sturdy part under all those curves.
Step 7: Decorate the Side Panel
On the flat side panel, draw a few flowing swirls or a scroll pattern, like fancy gold trim. A curl here, a loop there — nothing too neat. These little flourishes are what give a sleigh its old-fashioned, storybook charm.
Step 8: Color Your Sleigh
Fill the body with a rich, warm red, then trace the trim and swirls in gold or yellow. Shade the underside and the inside of the seat a touch darker so the sleigh looks round and three-dimensional. Leave a soft blank streak along the top edge where light would catch the polished wood. Now it’s ready to fly. 🎄
Tips to Make Your Sleigh Drawing Even Cuter
- Pile a few wrapped gifts in the seat for an instant holiday story.
- Add tiny bells hanging off the front swirl and draw little motion lines behind them.
- Sketch a swoosh of snow spraying up from the runner to show it zooming.
- Try a soft blue or green sleigh instead of red for a fresh, frosty twist.
- Dust the top edges with tiny white dots so it looks freshly snowed on.
FAQ
Is a sleigh hard to draw?
It’s easier than it looks. Once you see it as a scoop, a curvy back, and a front swirl, the whole thing comes together from simple flowing lines.
How long will a sleigh drawing take?
Around 15 minutes with coloring. The body shapes are quick; the trim and shading are where you can slow down and enjoy it.
What’s the hardest part of a sleigh?
The front swirl trips people up most. Practice that little spiral a few times on scratch paper first, and the rest feels smooth.
Give yourself a few tries — each sleigh will glide a little more gracefully than the last. 🎨 For step-by-step videos you can draw along with, pop over to our YouTube channel at https://www.youtube.com/@hobbiesfor_fun. If you enjoyed this, hitch up some helpers with our easy reindeer drawing guide next. ✏️