Angel Wings Drawing: Easy Step-by-Step Guide for Beginners
In this guide
- What You'll Need
- Step 1: Draw the Center Line
- Step 2: Sketch the Wing Arcs
- Step 3: Add the Bottom Curves
- Step 4: Draw the Top Feather Row
- Step 5: Add the Middle Feathers
- Step 6: Draw the Long Flight Feathers
- Step 7: Clean Up and Refine
- Step 8: Shade for a Soft Glow
- Tips to Make Your Angel Wings Drawing Even Prettier
- FAQ
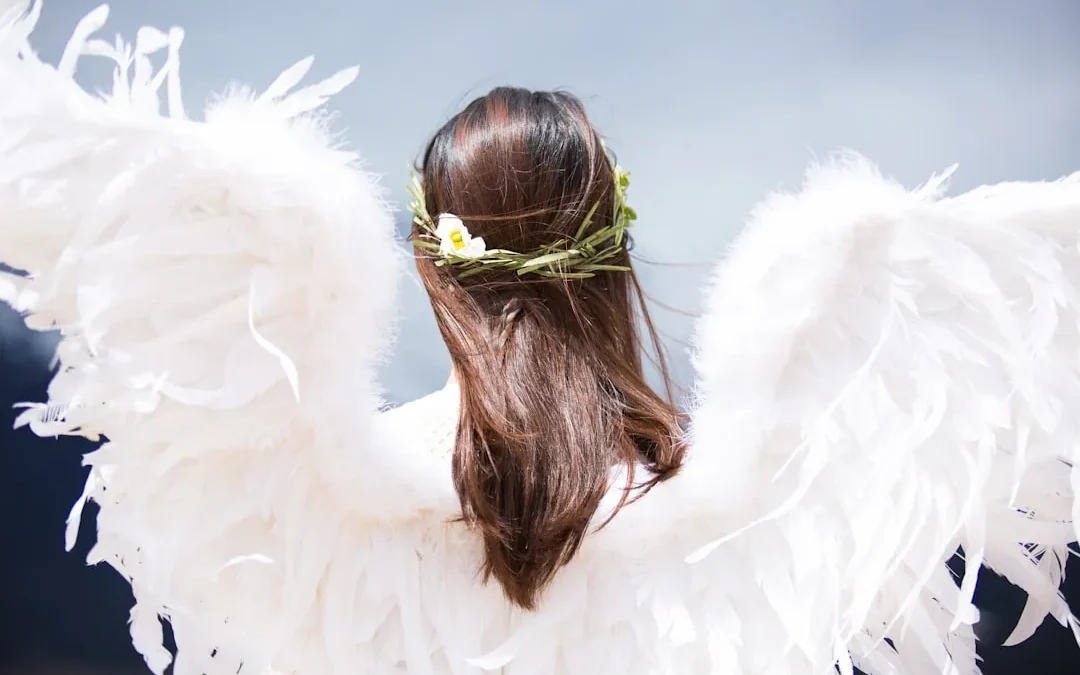
Soft, feathery, and floating with a gentle glow — angel wings are one of those drawings that look heavenly but are secretly built from simple curves. ✨ Today I’ll walk you through an easy angel wings drawing in eight friendly steps, layering feathers row by row until they look like they could lift right off your page. It’s a lovely design for cards, tattoos, journal covers, or just a peaceful afternoon of sketching.
The trick is to think in soft, sweeping arcs and stacked scallops — no perfect feathers required. If you’ve ever tried our how to draw wings guide, you already know the rhythm. Let’s give your sketchbook a little magic. ✏️
What You’ll Need
- Paper
- Pencil
- Eraser
- Optional: soft gray marker or blending pencil
Step 1: Draw the Center Line
Down the middle of your page, draw a light vertical line — this is just a guide to keep both wings even. Leave a small gap at the top center where the two wings will meet. Symmetry is the goal, so this little line is your best friend.
Step 2: Sketch the Wing Arcs
From the top center, sweep two big curves up and outward, one to each side, like a pair of graceful bird wings opening. These top edges set the overall span, so make them nice and generous. Angel wings are usually tall and proud, so let them reach.
Step 3: Add the Bottom Curves
Now bring a second curve down from each wingtip, swooping inward toward the center bottom to close each wing shape. Let the tips taper to a soft point — that’s the classic feathered look. You should now have two big leaf-like wing outlines mirroring each other.
Step 4: Draw the Top Feather Row
Along the top edge near the center, draw a row of small, short feathers — little rounded scallops, like the top of a cupcake swirl. These upper feathers are the smallest, closest to the “shoulder” of the wing. Keep them snug together in a neat row.
Step 5: Add the Middle Feathers
Beneath that first row, draw a second layer of slightly longer, teardrop-shaped feathers. Each one overlaps the row above just a little, like roof shingles or fish scales. Stagger them so no two line up perfectly — that’s what makes feathers look natural and soft.
Step 6: Draw the Long Flight Feathers
Fill the bottom half of each wing with long, tapering feathers that reach down to the wingtips. These are the big flight feathers, so make them the longest of all, gently curving to follow the wing’s shape. A few of them can splay apart slightly at the very tip for a graceful, drifting feel.
Step 7: Clean Up and Refine
Erase your center guide line and any overlaps, then go over the feather edges to make them crisp. Add a short curved line down the middle of a few feathers to suggest the central quill. Don’t stress over making every feather identical — the little differences are exactly what make wings look real.
Step 8: Shade for a Soft Glow
Here’s where they come alive. Shade lightly along the base of each feather row and leave the outer edges bright white — that contrast gives a soft, glowing, three-dimensional feel. Smudge the gray gently with your finger or a blending pencil for a dreamy, cloud-soft look. A faint halo of sparkles around the wings never hurts. ✨
Tips to Make Your Angel Wings Drawing Even Prettier
- Try folded wings tucked down for a calm, resting pose instead of spread wide.
- Add a glowing halo or a few floating feathers drifting below for extra atmosphere.
- Color them soft pink, lavender, or pale blue for a gentle, ethereal version.
- A white gel pen over gray shading makes the feather edges shimmer.
- Draw a heart or a name between the wings for a sweet keepsake design.
FAQ
Are angel wings hard to draw?
Not once you break them into rows — small feathers up top, long ones at the bottom. The layered approach means you never have to draw the whole wing at once.
How do I keep both wings even?
Start with a light center guide line and match each feather row on both sides as you go. A little wobble is fine; wings are soft, not machine-perfect.
How long does an angel wings drawing take?
Around 20 minutes. The outline is quick, but layering and shading all those feathers is the relaxing part worth savoring.
Beautiful work — your wings look ready to catch a breeze and float away! ✨ If you’d like to sketch alongside a video, come join us on our YouTube channel. And if you want to add the whole heavenly figure, our easy angel drawing guide is the perfect companion piece.