How to Draw Wings
In this guide
- What You'll Need
- Step 1: Draw the Arm Line
- Step 2: Add the Top Edge
- Step 3: Block In the Wing Shape
- Step 4: Draw the Long Flight Feathers
- Step 5: Add the Shorter Inner Feathers
- Step 6: Scallop the Top
- Step 7: Turn It Into Angel Wings
- Step 8: Try Butterfly Wings
- Step 9: Shade and Finish
- Tips to Make Your Wings Drawing Even Better
- FAQ
Every flying thing you’ll ever want to sketch — birds, angels, dragons, fairies — runs on the same piece of equipment. So instead of learning wings one creature at a time, let’s learn the wing itself. This guide on how to draw wings breaks the whole thing into one arm-shaped arc plus rows of feathers, and once you see it, you can’t unsee it.
We’ll build a classic feathered wing step by step, then show you how the same skeleton bends into angel wings and butterfly wings. It pairs beautifully with our easy eagle drawing, where you can put a finished wing straight to work. ✏️
What You’ll Need
- Paper
- A pencil
- An eraser
- Optional: fine-tip pen for feather lines
Step 1: Draw the Arm Line
Start with one light line shaped like a stretched-out checkmark: it rises from the body, bends at a soft “wrist,” then sweeps down and out. This is the wing’s arm — real wings fold and stretch exactly like your own arm does. Every wing you ever draw starts with this line.
Step 2: Add the Top Edge
Thicken your arm line into a smooth curved band, like a banana following the same bend. This top edge is the muscley leading edge of the wing — it should look solid and strong. Keep the underside open for now; that’s where all the feathers will hang.
Step 3: Block In the Wing Shape
Lightly sketch the whole wing’s silhouette: from the wrist bend, draw a long line slanting down to a point, then swing back up to the body. It’s roughly a wide, curved triangle hanging beneath your arm band. Wobbly is fine — this is just a fence for your feathers.
Step 4: Draw the Long Flight Feathers
Along the outer half of the wing, draw a row of long feathers, each like a rounded blade of grass, starting from the wingtip and marching inward. Make the outermost ones longest and let each feather slightly overlap the next. Five to eight is plenty for a cartoon wing.
Step 5: Add the Shorter Inner Feathers
Between those long feathers and the body, add a second row of shorter, rounder feathers — more like flower petals than blades. They overlap the tops of the flight feathers, like shingles on a roof. This layering is the single trick that makes wings look real.
Step 6: Scallop the Top
Along the top band, draw a line of small scallops — quick little U shapes — to suggest the tiny soft feathers covering the wing’s arm. Erase your leftover guidelines now. Congratulations: you’ve drawn a complete bird wing, and it works on eagles, owls, and sparrows alike.
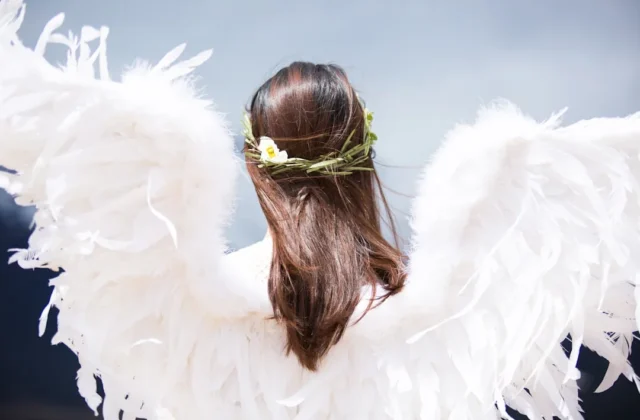
Step 7: Turn It Into Angel Wings
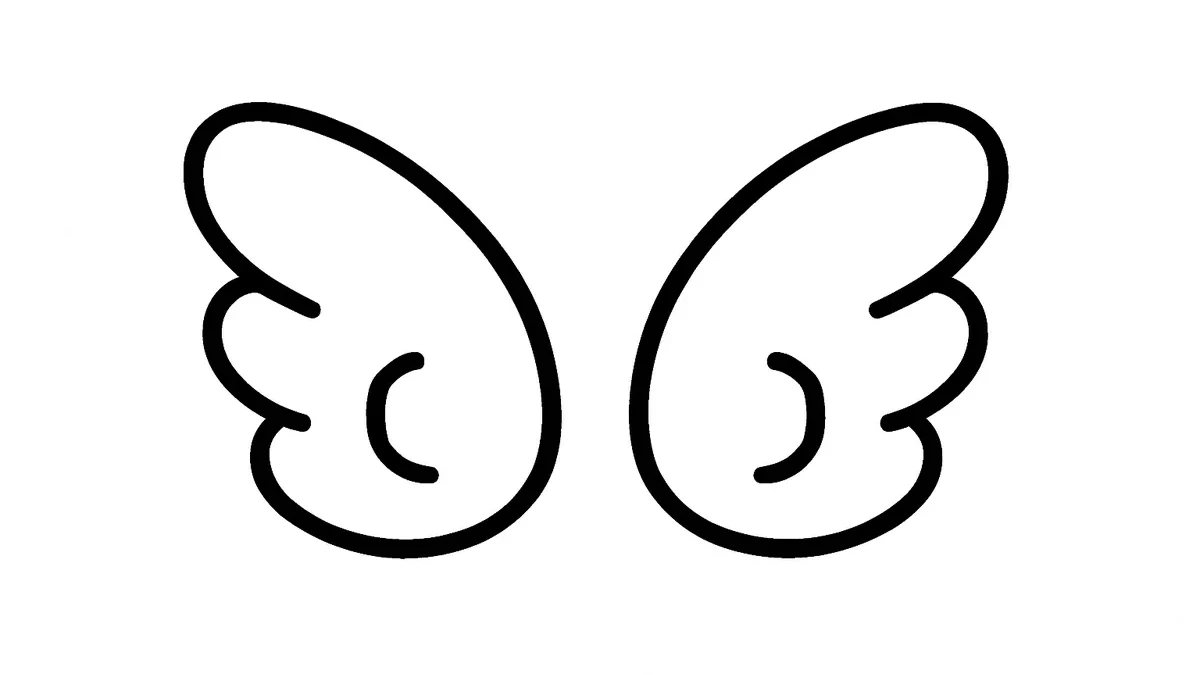
For angel wings, draw the same skeleton but stretch everything longer and more graceful — the arm arcs higher, the feathers drape down like a waterfall. Draw a mirrored pair with a small gap between them where the shoulders would be. Long, flowy, symmetrical: that’s the angel formula.
Step 8: Try Butterfly Wings
Butterfly wings skip feathers entirely: each side is one big rounded shape on top and a smaller one below, like a large ear over a small one. Keep both sides mirrored, then fill them with dots, swirls, or stained-glass sections. Our simple butterfly drawing takes this style further if you catch the bug.
Step 9: Shade and Finish
Add a soft shadow under each feather row so the layers pop, pressing slightly harder where feathers overlap. Darken the wingtips a touch — many real birds have darker tips. For a fantasy look, sweep a few loose motion lines behind the wing like it just flapped.
Tips to Make Your Wings Drawing Even Better
- Feathers point away from the body — angle every feather toward the wingtip.
- Odd numbers of long feathers (5 or 7) usually look more natural than even ones.
- For folded wings, draw the same shape squished into a long teardrop against the body. ✨
- Bat and dragon wings use the identical arm line — just replace feathers with skin stretched between long fingers.
- Practice wings big; it’s much easier to shrink a wing you understand than to enlarge one you don’t.
FAQ
Are wings hard to draw?
The shape scares people, but it’s honestly one bent line plus rows of overlapping ovals. Layer the feathers like roof shingles and the wing practically assembles itself.
How do I make both wings match?
Draw the arm-line skeleton for both wings first, before adding any feathers, and check they mirror each other. Matching skeletons guarantee matching wings.
What’s the easiest wing style for beginners?
The small folded bird wing — one teardrop with a few feather lines. Butterfly wings come second because they’re flat shapes with no layering at all.
Now you own the one drawing skill that unlocks a whole sky full of subjects — birds, angels, fairies, and beyond. Put your new wings on something magnificent with our easy dragon drawing, and flap over to the Hobbies for Fun YouTube channel to watch wings drawn in real time. You’ve got this! 🎨