Easy Pumpkin Drawing
In this guide
- What You'll Need
- Step 1: Draw the Middle Section
- Step 2: Add a Lobe on Each Side
- Step 3: Tuck In the Back Lobes
- Step 4: Flatten the Top and Bottom
- Step 5: Draw the Stem
- Step 6: Add a Curly Vine and Leaf
- Step 7: Give It a Face (If You Like)
- Step 8: Color and Shade
- Tips to Make Your Pumpkin Drawing Even Cuter
- FAQ
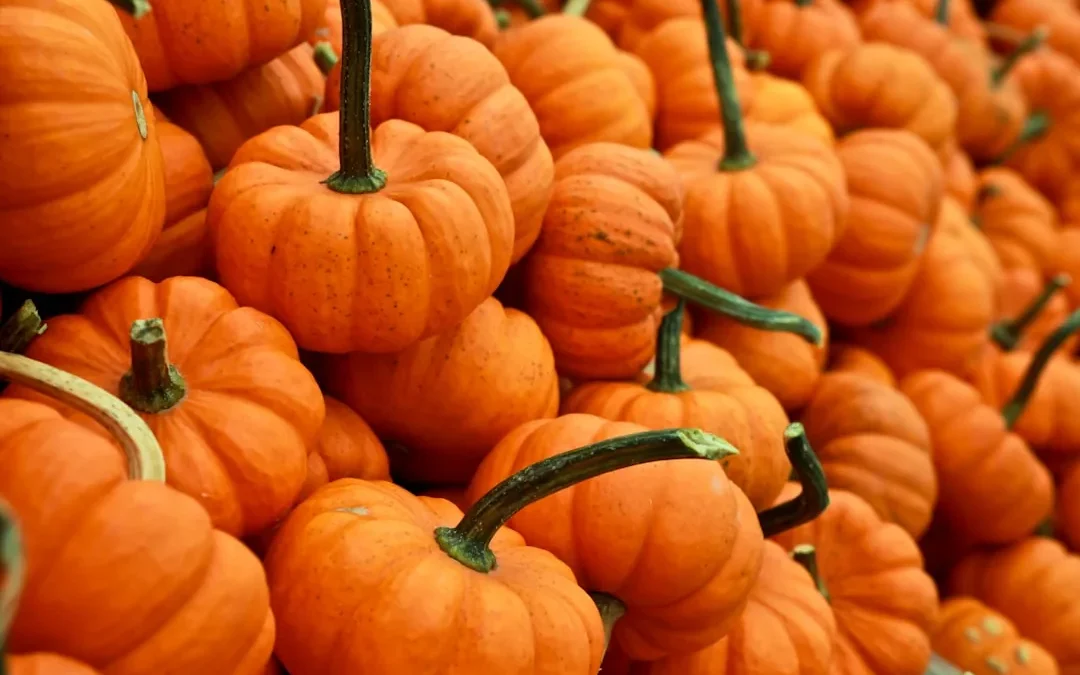
October wouldn’t feel right without a plump orange pumpkin sitting somewhere on your sketchbook page. The good news? Figuring out how to draw a pumpkin is much easier than carving one — no sticky seeds, no goopy hands, just a few round shapes stacked side by side. 🎃
This tutorial builds a classic chubby pumpkin one lobe at a time, then finishes with a curly vine and an optional jack-o’-lantern smile. It pairs perfectly with the rest of our Halloween drawing ideas for beginners if you’re planning a whole spooky-cute page.
By the end you’ll have two versions to choose from: a plain harvest pumpkin for cozy autumn scenes, or a grinning jack-o’-lantern for spooky nights. Same steps either way — the face is optional magic.
What You’ll Need
- Paper
- A pencil
- An eraser
- Optional: orange and green markers
Step 1: Draw the Middle Section
Begin with a tall oval in the middle of your paper, a little like an egg standing upright. This is the pumpkin’s front-and-center section. Don’t make it too skinny — pumpkins are proud of their curves. And if the oval leans a little, leave it; real pumpkins slouch too, which gives your drawing character before you’ve even added a face.
Step 2: Add a Lobe on Each Side
On the left side of the oval, draw a big curve that starts near the top, bows outward, and lands near the bottom — like a parenthesis hugging the center. Repeat on the right side so both curves match. Your shape should now look like three friends squished together for a photo.
Step 3: Tuck In the Back Lobes
Peek two smaller curves out from behind the side lobes, one on each end. They only need to show a sliver, like shy pumpkins hiding behind the bold ones. This little trick makes your pumpkin look round and full instead of flat. Compare the two sides when you’re done — they don’t need to match perfectly, but similar sizes keep the pumpkin from looking like it’s about to tip over.
Step 4: Flatten the Top and Bottom
Where the lobes meet at the top, connect them with small dipping curves so the pumpkin has a soft dent in the middle, like a cushion someone just sat on. Do the same along the bottom so it can sit flat-ish on the ground. Erase any leftover lines crossing through the body.
Step 5: Draw the Stem
From the top dent, draw two short lines that rise up and lean slightly to one side, then close them with a bumpy little top. Think of a chunky letter L wearing a hat. A slightly bent stem always looks friendlier than a straight one.
Step 6: Add a Curly Vine and Leaf
Start a line at the base of the stem and let it loop around itself two or three times, like a piggy tail unrolling into the air. Near the end of the curl, add a simple leaf — two curves meeting in a point, with one line down the middle. Vines love to be wobbly, so relax your hand. If your first curl comes out looking like a scribble, that’s honestly fine — garden vines are just scribbles that grew up.
Step 7: Give It a Face (If You Like)
For a jack-o’-lantern, draw two triangles for eyes, a smaller triangle nose between them, and a wide banana-shaped smile underneath. Add one or two square teeth poking into the smile. Prefer a plain harvest pumpkin? Skip this step entirely — it’s adorable either way.
Step 8: Color and Shade
Color the body bright orange, pressing a little harder along the outer lobes so the center section looks like it’s catching the light. Make the stem and vine green or warm brown. Finally, sweep a thin gray shadow under the pumpkin so it sits on the ground instead of floating. For a glowing jack-o’-lantern, color the eyes and mouth warm yellow instead of leaving them white, as if a candle is flickering inside.
Tips to Make Your Pumpkin Drawing Even Cuter
- Swap the triangle eyes for big round sparkly ones and add rosy cheeks. ✨
- Draw a tiny pumpkin buddy leaning against the big one — instant pumpkin family.
- Add a striped ribbon bow on the stem for a fancy fall look.
- Scatter a few falling leaves around it to set the autumn mood.
- Try a white or teal pumpkin for something different — real ones come in those colors too.
FAQ
Is a pumpkin easy to draw for kids?
Yes — it’s mostly ovals and curved lines, which makes it one of the friendliest fall subjects. Kids as young as 4 or 5 can draw a simple version, since everything hangs off that first center oval.
How long does an easy pumpkin drawing take?
About 10 minutes for the pencil sketch, or 20 with coloring. The curly vine is the only part worth slowing down for.
How do I make my pumpkin look round instead of flat?
Layer the lobes so the side sections overlap the center one, and shade the outer edges slightly darker. Overlap plus shading equals instant roundness.
That’s how to draw a pumpkin worth putting on the fridge — plump, curly-vined, and full of personality. Sketch a few in different sizes and you’ve got yourself an entire patch. For more step-by-step fun drawn entirely by hand, come say hi on our YouTube channel. If you loved this, try our easy leaf drawing for beginners to complete your autumn page. Happy sketching! 🍂